Now for the Warp
Video: Warping the Parking.mp4
So far, we have the flat east side, the 1% slope to the west, but we haven't added the slope along the west curb - we don't want a flat curb ponding water.
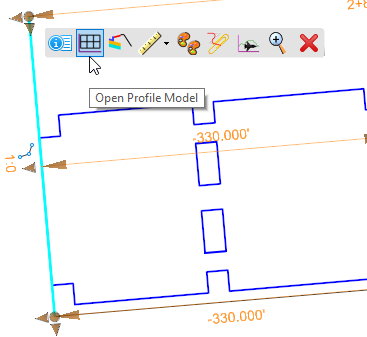
1) First, we need to Open the Profile Model of the West Draping line.

The Profile Model shows the Active Terrain Profile; the other Profile Element is the Active Profile: the Profile created from the Profile By Slope (-1%) from the East Draping line. Note its properties, which are editable.

When the Profile View is active, its horizontal parent is highlight and the direction indicated. The arrows indicate that the element starts from the south and heads north. We will want to have the grade flow from south to north: negative 0.5% from start to finish.
We will snap to the Design Profile: snaps are relationships, and we want to maintain that 1% cross slope relationship to the east side.
2) Click the Profile Line Between Points tool from the Profile View toolbar

3) Snap to the left end of the Proposed Profile (not the terrain profile).
4)Lock the Slope to -0.5%
5) Snap to the end of the profile window - the end station is snappable.

6) Right-click to end.
7) Use the Selection tool to verify the snaps (beginning and end) and the Slope.

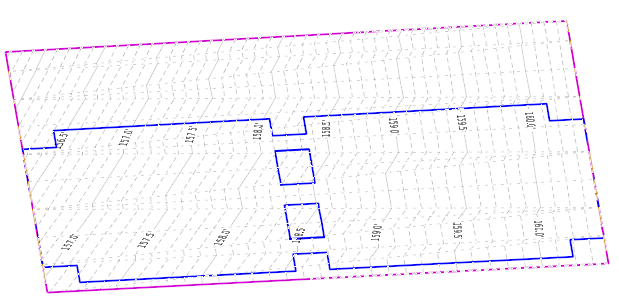
As soon as the sloped Profile is made Active, the Draping Terrain automatically updates. The Parking Elements are draped to the Draping Terrain: their profiles are automatically updated.
